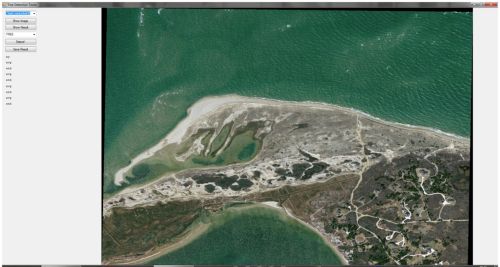
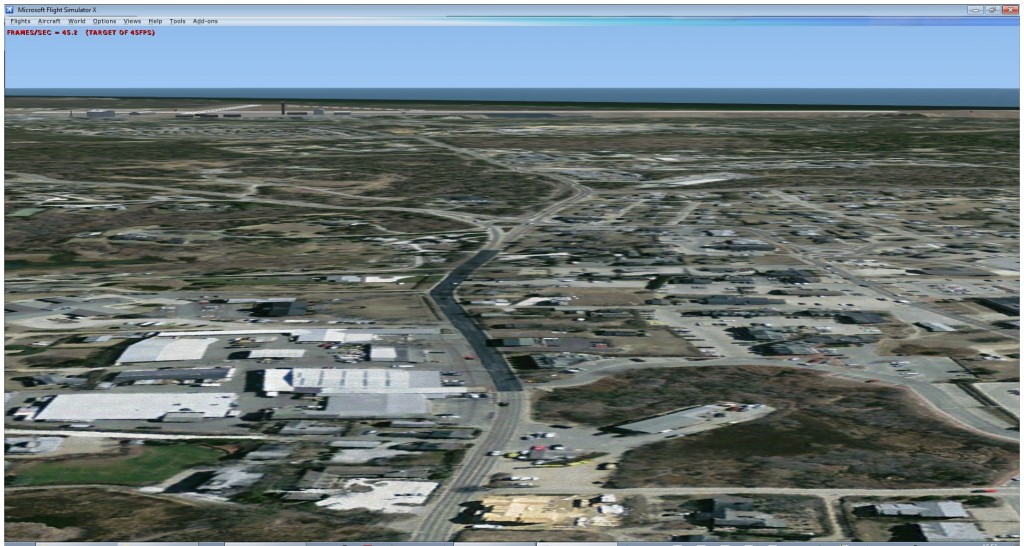
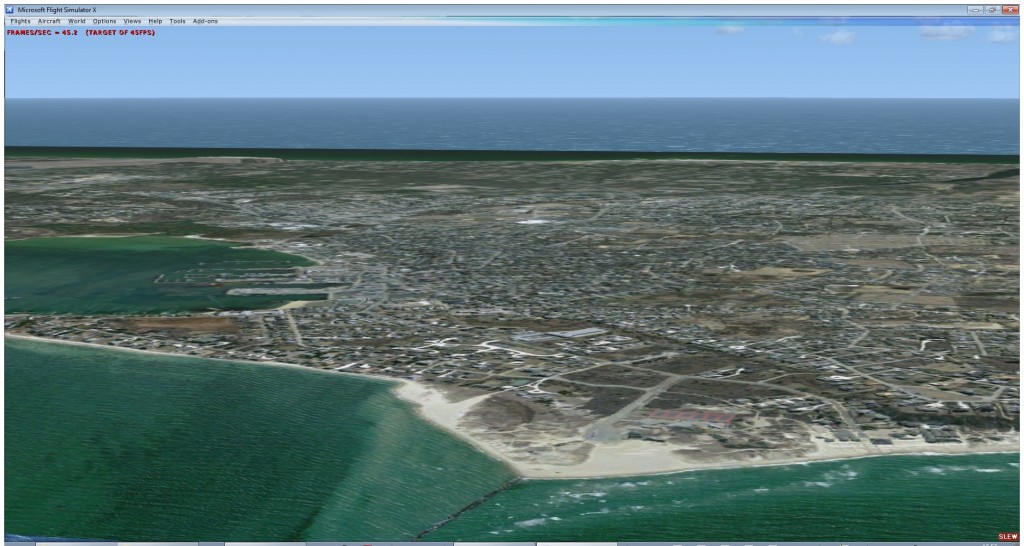
As I mentioned in my previous post I would write a bit more details about how I created the photo scenery for my Nantucket test project.
From the website of the Massachusetts GIS department I could download 30 cm imagery of the entire island. But they came in 101 tiles and in the SID format. So how to make them ready for a FSX photo scenery?
My normal approach would be to make a mosaic of the images into one big GeoTIFF and then it is quite easy to make a photo scenery with resample. But for the entire island at this resolution that would result in a file of around 20 GB. So that is not something that resample can handle.
So I took another approach here. First I used GDAL to convert all the SID files to GeoTIFF and I made sure they are reprojected to geodetic WGS84 as resample requires. I did this from the command prompt:
for %f in (*.sid) do gdalwarp -t_srs "+proj=latlong +datum=WGS84" %f %~nf.tif
So now I have a whole bunch of GeoTIFF files in the projection that resample can handle. But there are more than 100 hundred files. So that makes writing the INF file quite some work. To tackle that I made a simple BAT file that will scan all GeoTIFF files in a folder and create a INF file that contains them all. Here is the code of the batch file:
@setlocal EnableDelayedExpansion
@echo [Source]
@echo Type = MultiSource
@echo NumberOfSources = 101
@set icount=0
@for %%f in (..\geo\imagery\gtif_wgs84\*.tif) do @set /a ICOUNT+=1 & @echo [Source!icount!] & @echo Type = GeoTIFF & @echo SourceDir = "..\geo\imagery\gtif_wgs84" & @echo SourceFile = "%%~nf.tif" & @echo Layer = Imagery & @echo Variation = All & @echo NullValue = 0,0,0
@echo [Destination]
@echo DestDir = "..\..\scenery"
@echo DestBaseFileName = "Nantucket"
@echo DestFileType = BGL
@echo LOD = Auto
@echo SplitFileLOD = 10
@echo Compression = 85
As you can see there are still some paths and numbers hardcoded. If I would use this kind of script often, I would probably better make a tool for it. Maybe I can add the functionality to resample.
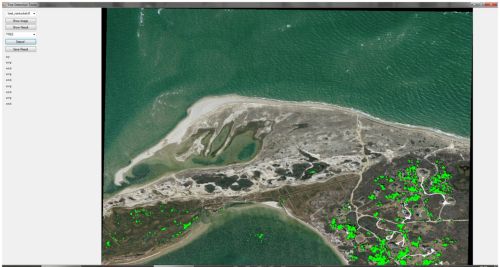
Then the last step was just to run the INF file through resample and wait a few hours. And there it is, a photo scenery made from a whole bunch of files that could easily be downloaded from the USGS.
Of course there is more to do. For example add a watermask to get the dynamic water. And add a blend mask to get a gradual transition at the edges. But those tasks I still have to do. Once I have done them I will write about my experiences again.
 In my bug reporting system I can see that it relatively often happens that people run into trouble (crashes) because they remove the SPLITGRID step from their configuration file. If you then try to create autogen features scenProc will crash. This is because I assumed that the SPLITGRID step will be done first. This step will make sure all features are divided correctly in the terrain grid used by FS.